 How-to
Pre-Trip Vehicle Inspection Checklist 2026: Step-by-Step
Table of Contents
- Why a Pre-Trip Inspection Matters Before You Drive
- Vehicle Pre-Trip Inspection Steps: The Walk-Around Sequence
- Pre-Trip Inspection Items to Check: The Full List
- Engine Compartment Checks: Fluids, Leaks, Hoses, and Belts
- How Long Does a Pre-Trip Inspection Take?
- Pre-Trip Inspection Checklist PDF: Printable and Digital Options
- What to Do When You Find a Defect
- Seasonal and Weather-Specific Checks
- Frequently Asked Questions
Last Updated: October 18, 2026
Why a Pre-Trip Inspection Matters Before You Drive
A pre-trip vehicle inspection checklist is a simple routine of checking your car's tires, fluids, lights, and brakes before you pull out of the driveway. It takes minutes and catches small problems before they strand you miles from home.
Most drivers skip it. They assume the car worked yesterday, so it will work today.
That logic fails at the worst possible moment. A tire that picked up a slow leak overnight can go flat on the highway. A cracked hose can split under heat. A dead brake light can earn you a warning, or worse, a rear-end collision.
A walk-around inspection is your early-warning system. It shows you what changed since the last drive.
Personal Cars vs. Commercial Trucks vs. CDL/DOT Inspections
Not every inspection is the same. The rules depend on what you drive and why.
- Personal cars: No legal requirement. A pre-trip check is smart self-defense you do for your own safety.
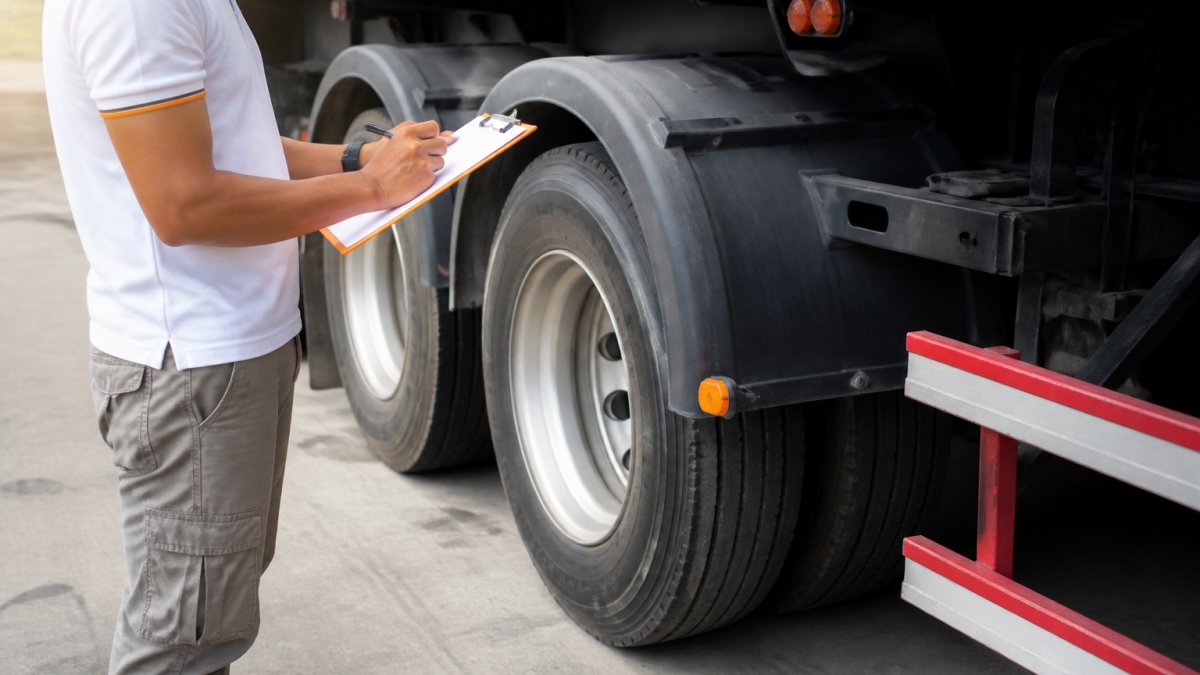
- Commercial trucks: Federal rules require drivers to inspect before each trip and file a driver vehicle inspection report when defects are found.
- CDL vehicles: Commercial driver's license holders follow the same federal standard, with a full walk-around covering the engine compartment, coupling devices, and trailer connections.
If you drive a personal vehicle, you set the standard. Make it a thorough one.
Vehicle Pre-Trip Inspection Steps: The Walk-Around Sequence
Start at the driver's door and move clockwise around the car. This fixed order keeps you from skipping sections. Work front to back, then under the hood.
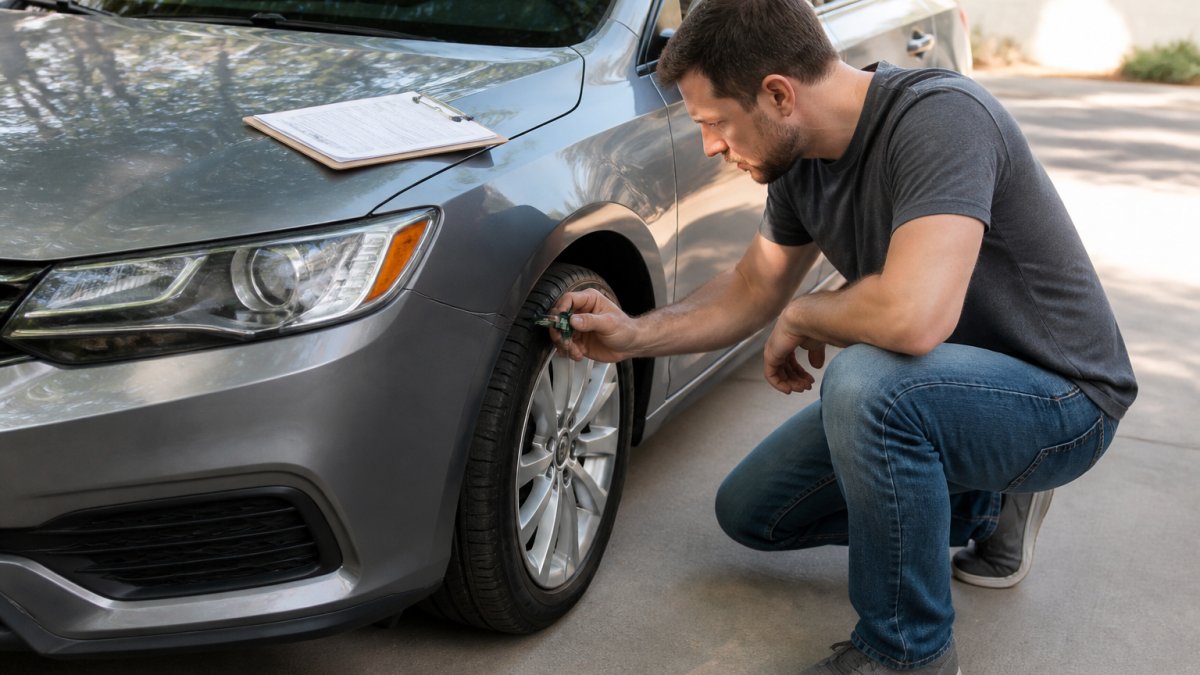
Here is the sequence we recommend:
- Walk to the front. Check headlights, turn signals, and the grille area for damage.
- Move down the driver's side. Look at tires, wheels, mirrors, and the windshield.
- Check the rear. Test taillights, brake lights, and reverse lights.
- Continue up the passenger side. Repeat the tire and light checks.
- Open the hood. Check fluids, hoses, and belts.
- Sit in the driver's seat. Test the horn, wipers, seat belt, and warning lights.
Front, Sides, Back, and Under the Hood
The front is where most damage shows first. Look for cracked lenses, a bent bumper, or debris lodged in the grille.
Along the sides, check the mirrors for cracks and the doors for dents. Run a hand along the tires. Feel for bulges or cuts.
At the back, have someone press the brake pedal while you watch the lights. Check the trunk for your emergency kit.
Under the hood, look before you touch. Leaks and worn belts show up fast.
Pre-Trip Inspection Items to Check: The Full List
The core items fall into five groups: tires, wheels, brakes, lights, and fluids. Check every group on every trip. The full walk-around takes less time than brewing coffee.
| Group | What to Check | Warning Sign |
|---|---|---|
| Tires | Tread depth, pressure, sidewalls | Cracks, bulges, low air |
| Wheels | Rims, lug nuts, hubcaps | Loose nuts, bent rims |
| Brakes | Pedal feel, fluid level, pads | Soft pedal, grinding noise |
| Lights | Headlights, brake, turn, hazards | Flickering, cracked lenses |
| Fluids | Oil, coolant, brake, steering | Low levels, dark color |
Tires, Wheels, Rims, and Lug Nuts
Tires are the most common failure point. Check tread depth with a gauge or the penny test. On most passenger tires, the wear bars molded into the grooves sit at 2/32 inch; once tread is flush with them, the tire is legally worn out and should be replaced.
Check pressure with a gauge, not by eye. Use the door-jamb placard, not the number molded on the sidewall, which is the tire's maximum. A tire that is visibly low in the morning likely has a slow leak; a bubble of soapy water on the valve stem or bead will confirm it.
Inspect the sidewalls for cracks, cuts, and bulges. A bulge means internal cord damage and the tire should not be driven.
Move to the wheels. Check that lug nuts are tight and rims are not bent. A loose lug nut can shear off and cost you a wheel. On steel wheels, look for rust streaks around the studs; on alloy wheels, look for cracks radiating from the bolt holes.
Brakes, Lights, Reflectors, and Emergency Equipment
Press the brake pedal. It should feel firm, not spongy. A soft pedal means air in the lines or low fluid. With the engine off, pump the pedal a few times; it should hold firm under steady pressure.
Look at the brake fluid reservoir under the hood. It should sit between the MIN and MAX lines, and the fluid should be clear to light amber. Dark, cloudy fluid absorbs moisture over time and lowers the boiling point, which matters on long descents.
Test every light: headlights (low and high beam), brake lights, turn signals, hazards, reverse lights, and license-plate lamp. Walk around and confirm each one works.
Check reflectors and side markers. They are inexpensive but legally required on most vehicles, and a missing reflector reduces visibility when parked or disabled at night.
Check your emergency kit. You need a spare tire, jack, lug wrench, and a fire extinguisher. Add flares or reflective triangles for roadside visibility, a flashlight, and a basic first-aid kit.
Engine Compartment Checks: Fluids, Leaks, Hoses, and Belts
Pop the hood with the engine cold. Check the oil level with the dipstick. It should sit between the marks, and the oil should look amber, not black.
Next, check the coolant level at the reservoir. Do this only when the engine is cool. Hot coolant can spray and burn.
Look at the brake fluid and power steering fluid reservoirs. Both should sit at the full line.
Then scan for leaks. Fresh spots under the car point to a problem. Finally, squeeze the hoses for cracks and check the belts for fraying.
How Long Does a Pre-Trip Inspection Take?
A full pre-trip inspection takes about 10 to 15 minutes for a personal vehicle. Commercial drivers should plan for 30 to 45 minutes to cover the full federal checklist.
Speed comes with practice. After a few weeks, the walk-around becomes muscle memory.
The sequence matters more than the clock. Do not rush the tire and brake checks to save a minute.
Pre-Trip Inspection Checklist PDF: Printable and Digital Options
A printable PDF works well for most drivers. Print one copy, keep it in the glove box, and check items off with a pen.
Digital options fit better for some. Phone apps let you log results and set reminders. Fleet drivers often use electronic inspection reports.
Both formats share the same goal: a record you can review. A written log shows patterns, like a tire that keeps losing air.
What to Do When You Find a Defect
Finding a defect is the point of the inspection. The next step depends on how serious it is, and the decision should follow a consistent rule rather than a gut feeling. A simple three-tier system works for personal vehicles and commercial trucks alike.
Tier 1, Drive with a note. Cosmetic damage, a burned-out interior bulb, low washer fluid, or a worn wiper blade can wait until you reach a shop. Log the item so it does not get forgotten.
Tier 2, Fix before the trip. A dead exterior bulb, low tire pressure, a cracked mirror, or a worn belt should be corrected before you leave. These are quick fixes that become roadside problems if ignored.
Tier 3, Do not drive. A soft or sinking brake pedal, a tire with a bulge or cord showing, a cracked brake hose, a fuel leak, or a steering component with play means the vehicle stays parked. Arrange a repair or a tow.
Documenting and Reporting Defects
Write down what you found, where, and when. A simple log with date, odometer reading, item inspected, and defect description is enough. Patterns matter: a tire that keeps losing air, a light that keeps burning out, or fluid that keeps dropping points to a root cause rather than bad luck.
For commercial drivers, federal rules require a driver vehicle inspection report when defects are found, and the carrier must certify that the defect was repaired before the vehicle is used again. Keep the report with the vehicle or in the carrier's system per the company's procedure. If a defect affects safe operation, the vehicle should not be dispatched until it is repaired and the repair is documented.
When to Escalate to a Professional
Some findings need a diagnostic, not a driveway fix. A grinding noise under braking, a vibration through the steering wheel, a burning smell, or a leak you cannot trace should go to a shop. A quick diagnostic beats a roadside tow, and it beats an accident.
Seasonal and Weather-Specific Checks
Weather changes what you check. Add these items to your routine as the seasons shift.
Summer: Check coolant and tire pressure more often. Heat expands tires and stresses the cooling system.
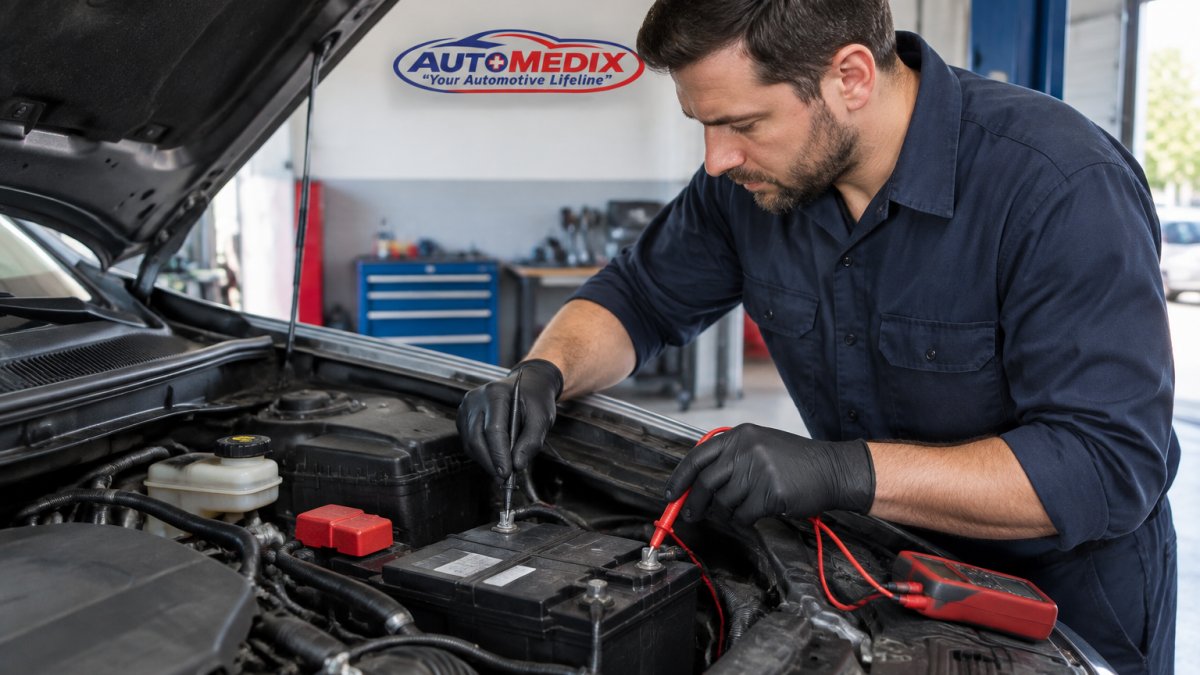
Winter: Test the battery, wipers, and defroster. Cold drains batteries and strains old ones. Check tire tread closely for snow and ice.
Spring and fall: Look for debris and check wipers after storms. Temperature swings can cause leaks.
Seasonal checks take a few extra minutes. They prevent the breakdowns each season tends to cause.
Frequently Asked Questions
What are the 7 steps for a pre-trip inspection?
A practical seven-step sequence is: 1) walk to the front and check lights, mirrors, and windshield; 2) inspect the engine compartment for fluid levels, leaks, hoses, and belts; 3) check the driver's side tires, wheels, rims, and lug nuts; 4) test brakes and steering from the driver's seat; 5) inspect the passenger side the same way; 6) check the rear lights, reflectors, and trailer connections if you tow; 7) confirm emergency equipment such as a fire extinguisher, flares, and fuses. Following the same pre-trip inspection order every time keeps you from skipping items.
How long should a pre-trip vehicle inspection take?
For a personal car, a focused walk-around typically takes 10 to 15 minutes once you know the sequence. A commercial truck or a vehicle with a trailer can take 30 to 45 minutes because there are more components, couplings, and paperwork. The pre-trip inspection time drops as the routine becomes familiar, but do not rush the tire, brake, and fluid checks. If you find a defect, add time to document it and decide whether the vehicle is safe to drive.
What should you do if you find a safety issue during a pre-trip inspection?
Stop and classify the defect before you drive. A burned-out marker light or low washer fluid can often be fixed on the spot. A cracked belt, a leaking brake line, a tire with cord showing, or a loose lug nut means the vehicle should not move until it is repaired. Record what you found, take a photo, and note the odometer reading. If you are unsure whether the issue is critical, have a technician look at it before your trip rather than risk a breakdown on the road.
What is the item most commonly overlooked during a pre-trip inspection?
Tire pressure and tread depth are the most frequently skipped items, followed by the spare tire and jack. Drivers glance at tires and assume they are fine, but a tire that is 10 psi low or worn near the wear bars changes stopping distance and raises blowout risk. Check pressure with a gauge when tires are cold, measure tread at several points, and confirm the spare is inflated. Also check that the jack, lug wrench, and emergency equipment are actually in the vehicle.
A pre-trip inspection is a small habit with a big payoff. It catches problems while they are cheap to fix. AutoMedix helps drivers in the area keep their vehicles road-ready with thorough maintenance and honest diagnostics. Our skilled technicians handle everything from routine checks to major repairs, and we focus on preventing costly breakdowns before they happen. Get started with AutoMedix and drive with confidence on every trip.