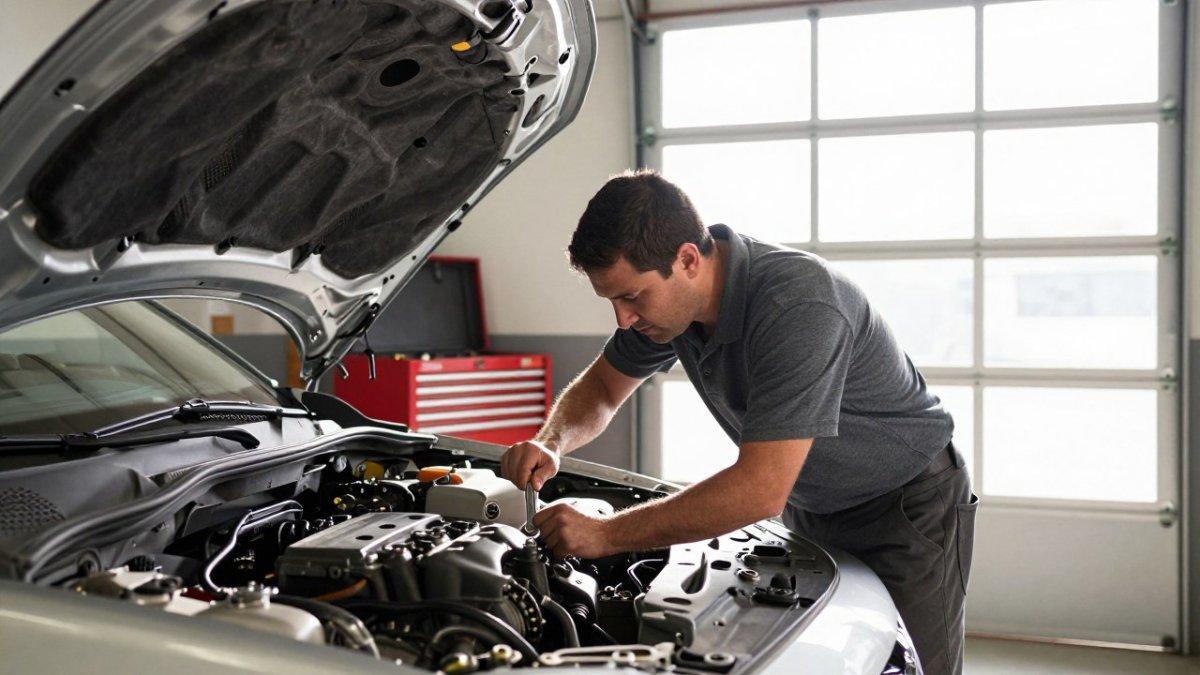
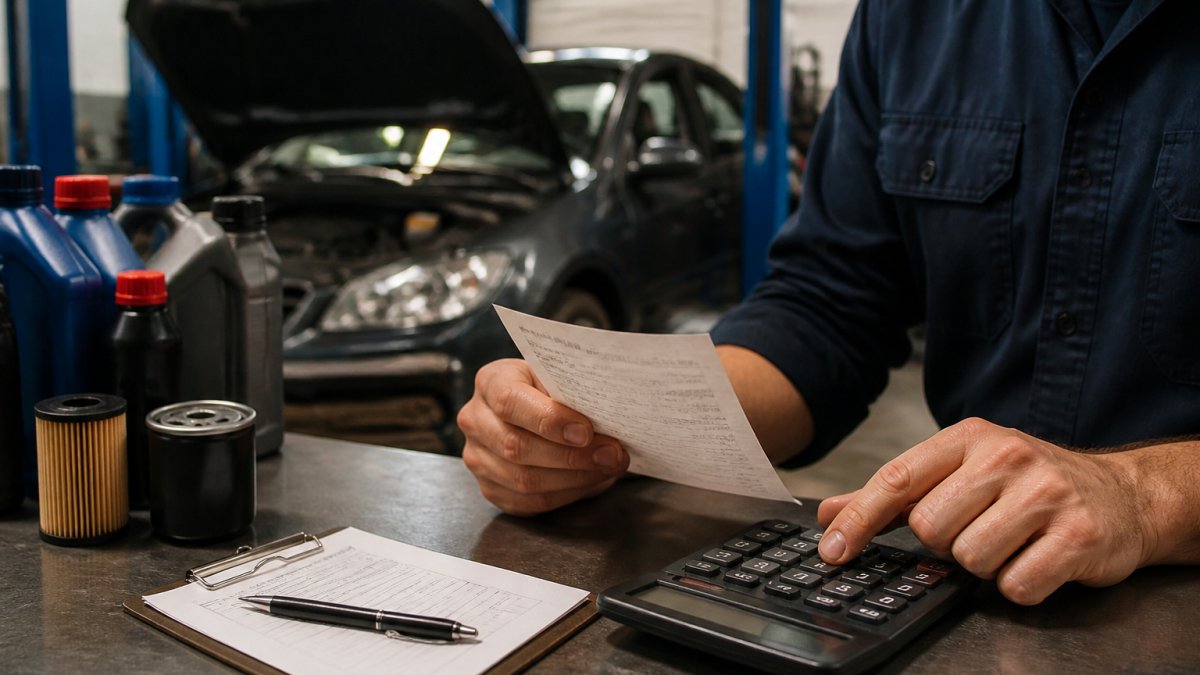
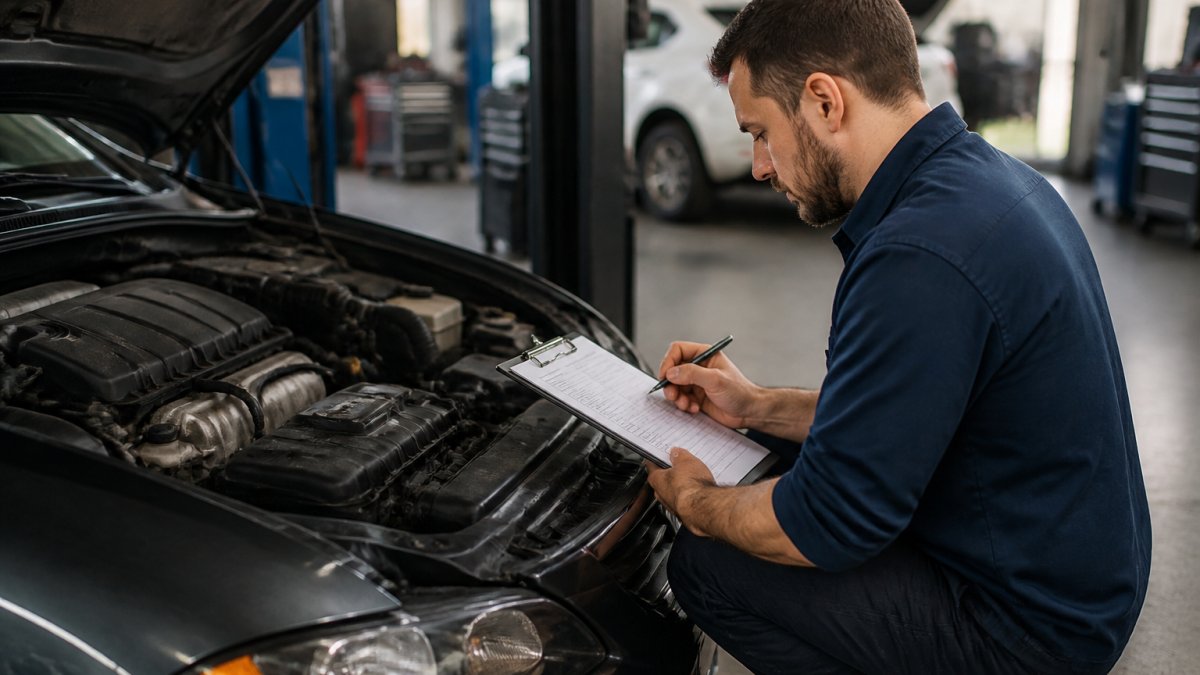
 Ultimate guide
Pre Purchase Vehicle Inspection Checklist 2026 Guide
Last Updated: November 2, 2026
Quick Summary
A pre purchase vehicle inspection checklist walks you through exterior and glass checks, interior controls and warning lights, under-hood fluids and belts, tires, brakes, suspension, a used car test drive, and Florida title, history, and flood damage verification. Prioritize findings in three tiers: safety defects and structural rust first, mechanical faults second, cosmetics last.
- Run a cloth-wrapped magnet along steel panels; a weak pull suggests body filler over a repaired dent.
- Every dashboard warning lamp should illuminate briefly and go out, since a pulled bulb can hide a fault.
- Rust on structural members is a walk-away item, not a bargaining chip.
- A clean vehicle history report does not prove a car stayed dry, because flood damage is often repaired privately.
- A seller who refuses an independent inspection is telling you something, so treat refusal as a reason to walk away.
Table of Contents
- Why a Pre Purchase Inspection Checklist Matters in 2026
- Exterior, Glass, and Body Panel Checks
- Interior, Controls, and Dashboard Warning Lights
- Under the Hood: Fluids, Belts, Hoses, and Battery
- Tires, Brakes, Suspension, and the Undercarriage
- Your Used Car Test Drive Checklist for Engine and Transmission
- Florida Title, History, and Flood Damage Verification
- What a Professional Pre-Purchase Vehicle Inspection Adds
- How Long Does a Pre-Purchase Inspection Take and What It Costs
- Download Your Used Car Inspection Checklist PDF and Book Your Inspection
- Frequently Asked Questions
Why a Pre Purchase Inspection Checklist Matters in 2026
A pre purchase vehicle inspection checklist is a structured, step-by-step record of everything you examine before you hand over money for a used car, and this pre purchase vehicle inspection checklist covers each stage in order. The used-car market rewards preparation and punishes impulse.
Here is the framing that matters. A checklist is not paperwork. It is negotiating use.
Every item you document, from a paint mismatch on a rear quarter panel to a shudder during a hard stop, becomes a fact you can put in front of the seller. Florida Department of Highway Safety and Motor Vehicles title and registration guidance outlines what a clean transfer actually requires, and knowing that upfront keeps the paperwork from becoming the surprise at the end.
The stakes are real for anyone shopping in Northeast Florida. Coastal humidity, salt air, and seasonal flooding all leave signatures on a vehicle that a ten-minute walkaround will never catch. If your goal is avoiding unnecessary repairs after the sale, this is the checklist to bring.
Exterior, Glass, and Body Panel Checks
Start outside, in daylight, with the car on level ground. Walk a full circle and look down each body panel at a shallow angle. That raking light reveals what a straight-on view hides: ripples in the paint, uneven panel gaps, and the slightly different sheen that signals repainting after collision damage.
Run a small magnet, wrapped in cloth, along steel panels. It should stick evenly. A weak or absent pull suggests body filler over a repaired dent. Check the glass for cracks and chips, especially in the driver's line of sight, and inspect every window seal for cracking or separation. In a coastal climate, worn seals let moisture in and rust starts where you cannot see it.
Look underneath for rust beyond light surface bloom, and check the wheel arches and rocker panels closely. A common mistake is judging rust by what is visible from standing height. Get low.
Red flags on the exterior:
- Paint mismatch between adjacent panels
- Overspray on trim, glass, or rubber seals
- Panel gaps wider on one side than the other
- Bubbling paint around wheel arches
- Fresh undercoating that could be hiding corrosion
Interior, Controls, and Dashboard Warning Lights
Sit in every seat. Open and close every door, roll each window up and down, and test the climate controls, radio, and all lighting. Upholstery wear tells you how the car was used, but the dashboard warning lights tell you how it is doing now.
Turn the key to the run position, before starting the engine, and watch the instrument cluster. Every warning lamp should illuminate briefly and then go out. A bulb that never lights may have been pulled to hide a fault. After you start the engine, no warning light should remain on.
Check the odometer against the maintenance records and the vehicle history report. Inconsistent mileage is one of the clearest red flags in a used vehicle, and it is easy to miss if you only glance at the dash.
Smell matters too. Damp, musty odors point to water intrusion, which ties directly to the flood damage discussion later in this guide.
Under the Hood: Fluids, Belts, Hoses, and Battery
Pop the hood on a cold engine and start with the fluids. Engine oil should be amber to dark brown, not milky, and the level should sit between the marks. Transmission fluid should be reddish and free of a burnt smell.
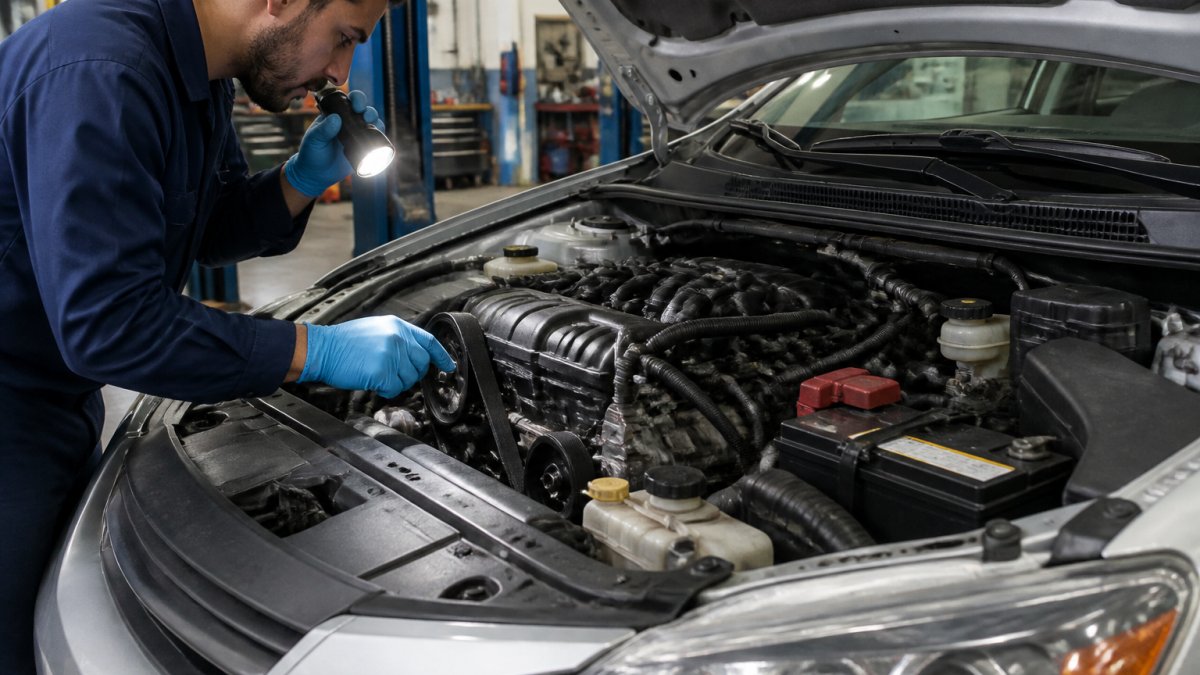
Fluid condition tells you two things at once: whether maintenance happened and whether leaks are developing. Look for wet spots, residue trails, and staining on the underside of the hood and around gaskets.
Inspect the belts for glazing, cracking, and fraying. Squeeze each hose; it should feel firm, not spongy, and show no bulging. Check the battery terminals for corrosion and confirm the battery age, since a battery near the end of its life is a predictable expense.
Tires, Brakes, Suspension, and the Undercarriage
Tire condition is the fastest read on how a used vehicle was treated. Check tread depth across each tire, not just at the center, and compare the wear pattern side to side. Uneven tire wear points to alignment or suspension problems that will cost money to correct.
Look at the sidewalls for cracks and bulges, and confirm all four tires match in size and, ideally, in brand and age. A mismatched set often signals budget repairs.
Brakes deserve a hands-on check. Look through the wheel spokes at pad thickness, and note any scoring or heavy lip on the rotors. During the test drive, braking performance will confirm what the visual check suggests.
The undercarriage is where suspension problems hide. With the car safely raised, inspect the struts and shocks for leaking fluid, check the boots on the CV joints for tears, and look for bent or shiny components that suggest impact damage. Rust on structural members is a walk-away item, not a bargaining chip.
Your Used Car Test Drive Checklist for Engine and Transmission
A used car test drive checklist exists to surface problems that only appear under load. Plan a route that includes a cold start, city streets, a stretch of highway, and a few deliberate stops.
Start the engine cold and listen. Ticking, knocking, or a rough idle that smooths out after a minute all tell you something. Note any smoke from the tailpipe.
On the road, evaluate engine performance through the full rev range, and pay attention to how the transmission shifts. Shifts should be smooth and decisive. Hesitation, slipping, or a hard clunk when engaging drive are serious concerns.
Test the steering for play and pull, and brake firmly from speed in a safe, empty area to check for pulsation or pulling. A diagnostic scan with a proper scan tool should follow any test drive, since stored codes reveal faults the dashboard light never showed.
Florida Title, History, and Flood Damage Verification
Paperwork is where many buyers lose money after the handshake, and in Florida the verification steps are specific enough that general advice is not enough. Do this pass before you discuss price.
Start with the title itself. If the title is held electronically, ask the seller to request a paper title or a title printout through the Florida Department of Highway Safety and Motor Vehicles (FLHSMV) before you commit. Florida Department of Highway Safety and Motor Vehicles title and registration guidance explains the current transfer requirements, including what the seller must sign and what the buyer must bring to a tax collector's office.
Read the title brand carefully. Florida uses brands such as "rebuilt" and "salvage" to disclose a vehicle's history, and a branded title changes both resale value and insurance.
Order a vehicle history report and read it against the title and the seller's story. Look for odometer readings that move backward or jump, repeated title transfers within a short period, and any accident, flood, or salvage branding.
Odometer disclosure is a separate Florida requirement. On a transfer, the seller must provide a written odometer disclosure, and the reading must match the title and the history report.
Flood damage deserves its own pass in St. Augustine and across Northeast Florida. Coastal humidity, salt air, and seasonal flooding leave signatures that a ten-minute walkaround will not catch. After a storm season, water-damaged cars often resurface with fresh detailing, so check the following:
- Musty or damp odors in the cabin, especially after the car has sat closed in the sun.
- Fogging or water droplets inside the headlight and taillight housings.
- Silt, grit, or staining under the carpets and in the spare-tire well.
- Corrosion on seat rails, seat-belt anchors, and wiring connectors under the dash.
- Rust on bolts and brackets that are normally protected, such as under-dash fasteners and door-hinge hardware.
- A recent, heavy application of undercoating or interior cleaner that could be hiding water lines.
Watch out: a clean vehicle history report does not prove a car stayed dry. Flood damage is often repaired privately and never reported, so the physical checks above matter as much as the paperwork.
Finally, confirm the seller's identification matches the name on the title, and check open safety recalls by VIN before you commit. NHTSA's vehicle safety recall lookup lets you do that in a few minutes, and it is a step most buyers skip.
What a Professional Pre-Purchase Vehicle Inspection Adds
A professional pre-purchase vehicle inspection puts a trained eye on the car before money changes hands. It can catch problems a driveway check may miss, and it helps separate a cosmetic flaw from a mechanical one.
Severity ranking is the skill.
For buyers in St. Augustine, our team at AutoMedix can help with vehicle diagnostics and repairs. If you have been burned before by a shop that oversold repairs, ask for the findings in writing, ranked by urgency. That is how a pre-purchase inspection should work.
How Long Does a Pre-Purchase Inspection Take and What It Costs
Ask the shop ahead of time how long an inspection will take for your vehicle, so you can schedule your time and the seller's.
Pricing depends on the scope of the inspection and the vehicle. For current pricing or a quote, contact AutoMedix directly or visit our website. Ask what is included and what costs extra, and get the scope in writing before the vehicle is serviced.
Use the findings to build a repair estimate, not just a pass/fail verdict.
Arranging the inspection is its own process, and it is where many private-party deals stall. A practical sequence for St. Augustine and Northeast Florida buyers:
- Agree on a price range and make an offer contingent on an independent inspection. Put the contingency in writing, even in a text message.
- Ask the seller for the VIN and a photo of the title before you schedule anything, so you can run the history report and recall check first.
- Book the inspection at a shop you chose, not one the seller recommended. Offer to meet the seller at the shop so they can hand over the keys and answer questions.
- Confirm what the shop will and will not do, and whether the report will be written and ranked by urgency.
- Attend the inspection if you can. Walking the lift with the technician is the fastest way to understand what is cosmetic and what is critical.
Watch out: a seller who refuses an independent inspection, or insists on using their own mechanic, is telling you something. A legitimate seller with nothing to hide will usually agree to a shop of your choosing.
If you are weighing DIY checks against a professional inspection, remember that the value is not just the findings. Why Professional Vehicle Diagnostics Beat Guesswork It is the negotiation position those findings give you.
| Inspection Stage | Time Needed | What You Need | What It Catches |
|---|---|---|---|
| Exterior and glass walkaround | 15-20 min | Magnet, flashlight, daylight | Collision damage, rust, seal wear |
| Interior and controls | 10-15 min | None | Warning light tampering, water intrusion |
| Under the hood | 15-20 min | Flashlight, rag | Fluid condition, leaks, belt wear |
| Tires, brakes, undercarriage | 20-30 min | Lift or ramps, tread gauge | Uneven wear, suspension faults, rust |
| Test drive and scan | 30-45 min | Scan tool, planned route | Engine, transmission, stored codes |
| Title and history verification | 15 min | VIN, title, history report | Liens, branding, odometer fraud |
Download Your Used Car Inspection Checklist PDF and Book Your Inspection
Print this guide, or save it as a mobile-friendly used car inspection checklist PDF, and bring it to every viewing. Check items off as you go, photograph anything that looks wrong, and write down the seller's answers to your questions. A documented inspection turns a nervous purchase into a negotiating session you control.
Prioritize what you find in three tiers: safety defects and structural rust first, mechanical faults second, cosmetics last. Use the first two tiers to negotiate price or walk away. Never let a cosmetic flaw distract you from a failing brake line.
If you would rather have a professional handle the mechanical condition evaluation, AutoMedix provides automotive maintenance and repair services in St. Augustine. How Do You Book Professional Car Maintenance Online? Our skilled technicians handle everything from routine maintenance to major overhauls.
FTC guidance on buying and financing a used car is worth a read before you sign anything, and it pairs well with the checklist above.
Frequently Asked Questions
What should I check during a pre-purchase vehicle inspection?
Work through eight areas: exterior body panels and paint for collision or rust repair, glass and window seals for cracks, interior upholstery and dashboard warning lights, engine compartment fluids and belts, tire tread and uneven wear, brake condition, undercarriage rust, and a full test drive covering engine, transmission, steering, and braking. Finish with a vehicle history report, title status, and odometer check. Document each finding with photos so you can negotiate repairs or walk away.
Can I inspect a used car myself before buying it?
Yes, and you should. A self-inspection catches obvious red flags like paint mismatch, flood odors, worn tires, and warning lights before you pay anyone. Bring a flashlight, a tire tread gauge, and a clean rag for fluid checks. What you cannot replicate is a diagnostic scan or a lift-based look at the undercarriage and suspension, so treat your own pass as a filter and a professional pre purchase inspection as the final check.
How do I check a used car for accident or flood damage?
Look for paint mismatch between panels, uneven panel gaps, overspray on trim, and fresh undercoating hiding rust. For flood damage, check for musty odors, mud or silt under the seats and in the spare tire well, fogged headlights, and corroded wiring connectors. Run a vehicle history report and compare it to what the seller discloses. In coastal Florida, flood history is common, so ask directly and get the answer in writing.
Should I get a pre-purchase inspection from an independent mechanic?
Yes. An independent mechanic has no stake in the sale and will report what they find without pressure to make the deal work. Ask any shop you consider what the inspection includes, and whether it will provide a written report you can use in negotiation. Avoid inspections arranged by the seller's own shop. A neutral professional pre-purchase vehicle inspection is the cheapest insurance you can buy on a used vehicle.
How long does a pre-purchase inspection take?
Ask the shop how long an inspection will take for your vehicle, since time can vary by vehicle type. Schedule it before you agree on a price, and ask the shop to send the report the same day. If a seller pressures you to skip the inspection or rush it, treat that as a red flag and walk away.
What should I do if a seller refuses a pre-purchase inspection?
Walk away. A seller who blocks an independent inspection is hiding something, whether it is prior collision damage, a rebuilt title, or a mechanical fault. A reasonable seller will let a buyer arrange an inspection at a shop of the buyer's choosing, often with a deposit. Put the inspection contingency in writing before any money changes hands, and keep looking if the answer is no.
Buying a used car in Northeast Florida means managing coastal corrosion, flood history, and a seller's optimism all at once. AutoMedix takes the guesswork out of the mechanical side with advanced diagnostics, thorough pre-purchase inspections, and clear written findings ranked by urgency, backed by skilled technicians who work on every vehicle type. Get started with AutoMedix and walk into your next purchase knowing exactly what you are buying.